Irish Soda Bread, Baked in the Container
Kitchen-tested
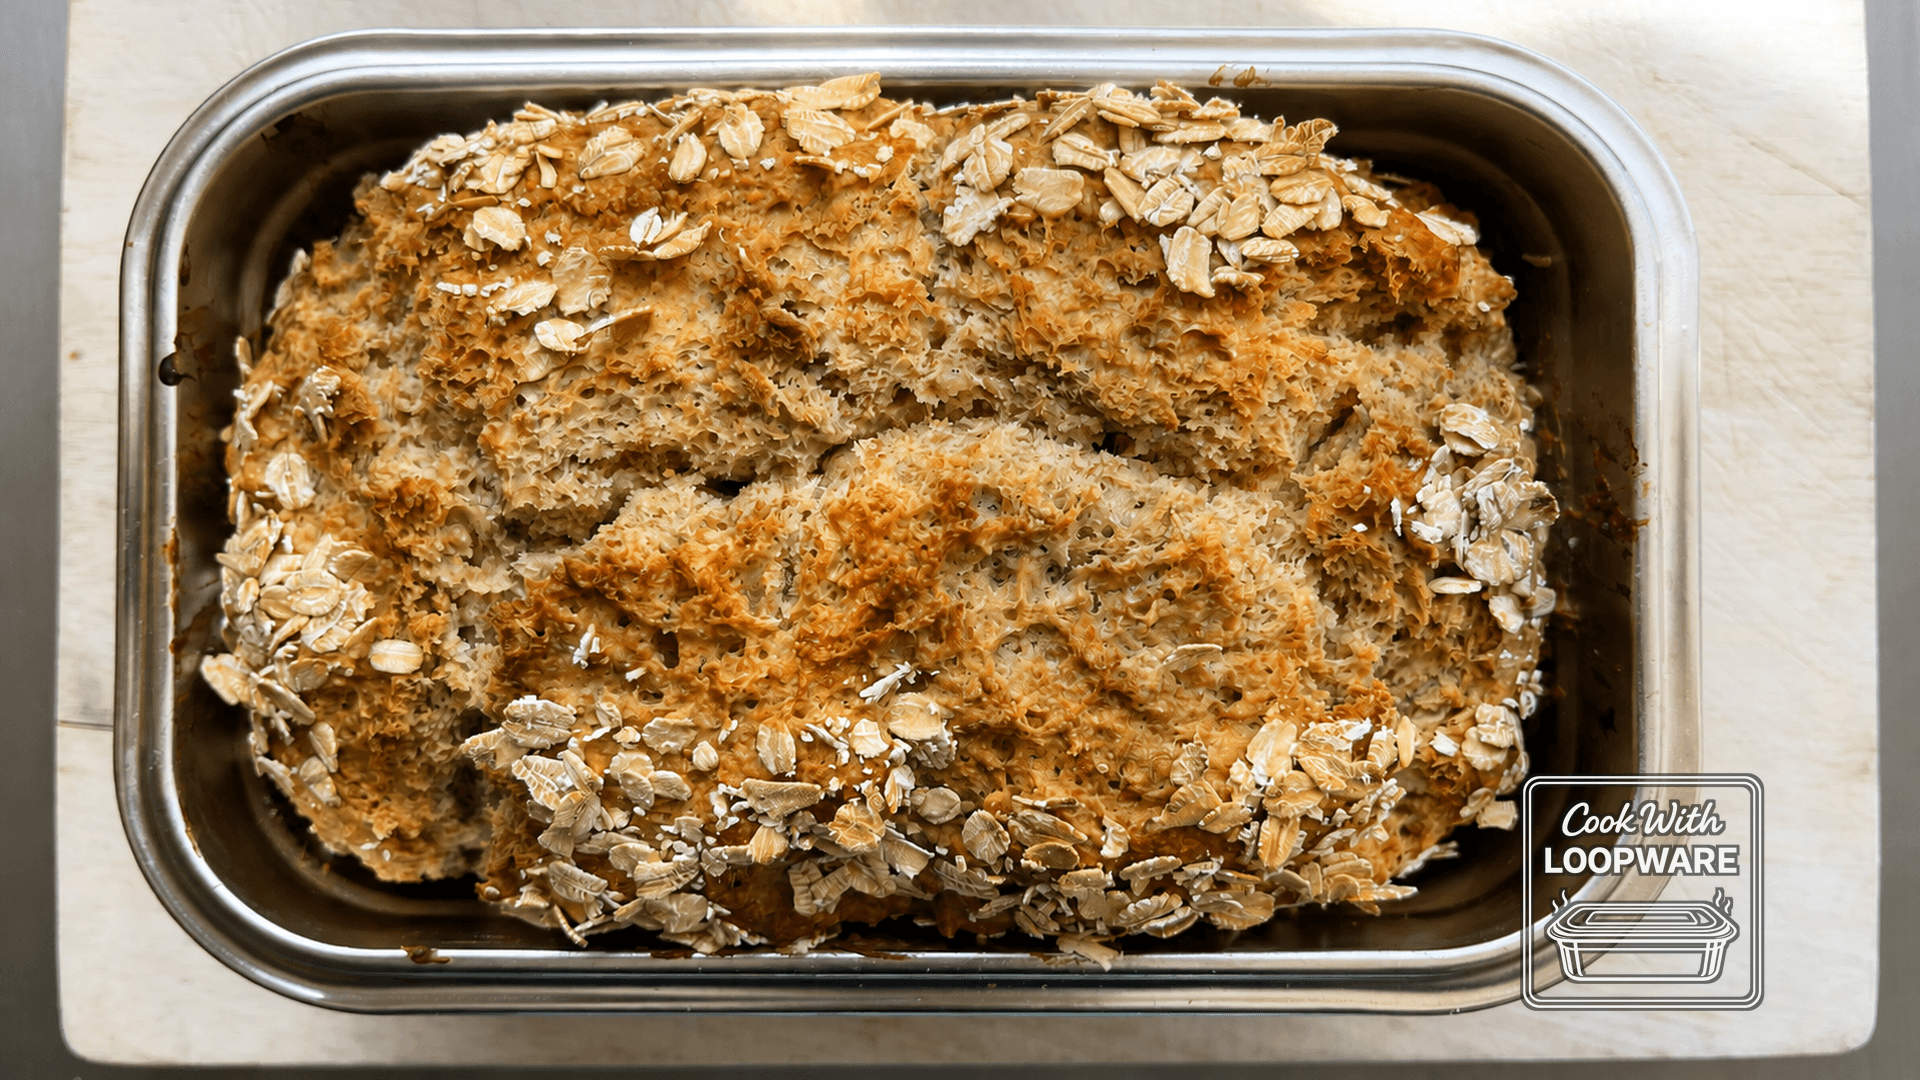
Irish soda bread needs no yeast, no kneading and no waiting — flour, buttermilk, bicarb, and an hour in the oven. Baked in the container it gets a tender, moist crumb and a deep golden crust. Still warm with butter is the point.
Ingredients
- — Container prep —
- About 10 g soft butter and 1 tbsp flour, for greasing and flouring the container
- — Dry ingredients —
- 260 g wholemeal flour, fine ground
- 260 g plain flour
- 8 g salt (1 tsp)
- 8 g bicarbonate of soda (1 tsp)
- 28 g cold butter, cubed
- — Wet ingredients —
- 1 large egg, whisked with the buttermilk and milk in a jug
- 350 ml buttermilk (one pot), whisked with the egg and milk
- 150 ml milk, whisked with the egg and buttermilk
- — Finish up —
- 1 tbsp rolled oats, scattered over the glazed top before it bakes
- You will also need: the 1.6 L container and its cooking lid, a mixing bowl, a skewer, a wire rack
Method
- Heat the oven: 215 °C conventional / 195 °C fan. Butter the inside of the 1.6 L container generously — base, walls and corners — then shake a tablespoon of flour around it and tap out the excess: it is your loaf tin and the loaf has to come out clean. (A strip of baking paper across the base and up two sides also works.)
- Mix the flours, salt and bicarbonate of soda in the bowl. Rub in the cold butter to coarse crumbs. Whisk the egg, buttermilk and milk together in a jug, and spoon 1 tablespoon of that mix into a cup — it is the glaze for the top.
- Make a well in the centre, pour in the rest of the egg-and-buttermilk mix, and bring it together with an open hand to a soft, sticky dough — too wet to shape by hand; the container holds it. STOP as soon as it comes together: no kneading, working it toughens it.
- Scrape the dough into the prepared container and level it roughly — it should come a little over half way up the walls; it rises to the rim as it bakes. Score a deep cross with a knife, brush the top with the spoonful of mix from the cup, and scatter the oats.
- Into the oven, uncovered — set a timer for 15 minutes. When it goes off, turn the oven down to 200 °C conventional / 180 °C fan and set another timer for 40 minutes. Glance through the door now and then: if the top is already deep brown well before the second timer, rest the cooking lid on top, loose, for the rest of the bake.
- When the second timer goes off, push a skewer into the centre: it should come out clean (93–99 °C in the middle if you use a probe). Not there yet? 5 more minutes, then check again.
- TURN OUT ONTO THE RACK IMMEDIATELY — run a knife round the edge, tip it over, and if it holds on, give the base a few firm knocks with your hand (oven gloves) until it drops; left in the container, trapped steam softens the bottom crust within minutes. Tap the base: it should sound hollow. Dull thud? Back into the oven, on the rack out of the container, for 5 minutes. Rest 15–20 minutes if you like the centre moist; cool fully for clean slices.
- To reheat: storage lid off — soda bread comes back in the oven, not in a pan. Heat the oven to 180 °C conventional / 160 °C fan. From the fridge, the loaf or thick slices straight onto the shelf (or back in the container with the cooking lid rested loose if you want a softer crust) and set a timer for 8 minutes; when it goes off the crust should be crisp again and the crumb piping hot right through. From frozen, the same oven: set a timer for 10 minutes for slices, 25 minutes for a whole loaf; when it goes off, a skewer pushed into the middle should come out hot to the touch and the bread piping hot right through.
Heat
| Stage | Heat into the pan | Induction hob (settings 1–9) | Portable induction hob | What to look for |
|---|---|---|---|---|
| Oven | 215 °C conventional / 195 °C fan for the first 15 minutes, then 200 °C / 180 °C | — | — | go by colour and the check in the step — ovens run hotter or cooler than the dial says |
Hob settings are not standard — the same number means different heat on different hobs. The power figures show how hard the pan is actually being heated. The settings shown are for a typical fitted induction hob with settings 1–9, and for a plug-in portable induction hob with power settings. Go by what you see in the pan, then remember the setting that gave it on your own hob.
Cook’s checks
- Skewer into the centre comes out clean (93–99 °C in the middle if you use a probe); the turned-out loaf sounds hollow tapped on the base; deep golden top.
- Top already deep brown well before the second timer goes off: rest the cooking lid on loose for the rest of the bake. Skewer not clean when the second timer goes off: 5 more minutes, then check again. Loaf holds on when you tip it: a few firm knocks on the base (oven gloves). Base sounds dull after turning out: 5 minutes back in the oven on the rack, out of the container.
- Container gets very hot in the oven — oven gloves, heat-safe surface. Turn the loaf out onto the rack, not onto the worktop. Never a friction-fit storage lid during any heating; if the top needs shielding, it is the cooking lid rested loose.
Nutrition
| Serving | Calories | Protein | Fat | Saturates | Carbohydrate | Sugars | Fibre | Salt / sodium |
|---|---|---|---|---|---|---|---|---|
| 1 serving | 421 kcal | 13 g | 9 g | 4.8 g | 72 g | 5.0 g | 6.3 g | 1.0 g sodium (2.6 g salt) |
Nutrition information is provided for general reference only. Values are estimates based on typical ingredient data and will vary with brands, cuts, portion sizes and preparation. They are not intended as precise nutritional, dietary or medical guidance.